Price: $300
Time: 2 hours
Tools: Screwdriver, wirecutters, pliars, electrical tape
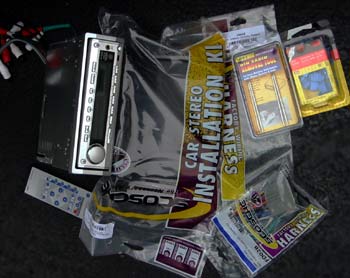
Parts: Head Unit, 22-16gu (red) Quick Connectors, and the following Scosche parts from SoundDomain:
Installation kit, wiring harness, antenna adaptor, DIN removal tool
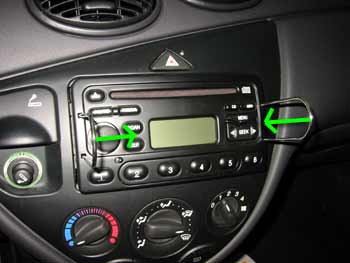
1. Ford radios need a special tool to be removed called a DIN removal tool. Some have been able to do this with coat hanger but it's worth the trip to Wal-Mart and the $2.50 to get the right tool. These are two U-shaped pieces of metal with tabs on the ends. You push them into the holes on your stock radio until they click in. Then push them out away from each other (towards the doors--the pic below is WRONG!) to release the radio and pull it out. It's that simple.
2. Take the Sosche wiring harness and the head unit's wiring harness. Sosche's wires are all labeled to their function on their wire, while you may have to refer to the head unit's instructions to see which wire is which (chances are they're the same colors but make sure for each one!). Use the quick connectors and pliars to connect each wire, cut off the excess wire, and surround the connections with electrical tape--make sure no bare wire is exposed! Then plug this into the factory plugs in your dash. It's a good time to also plug in the antenna adaptor.

3. Follow instructions to remove the rectangular mounting sleeve from the head unit, run the wires through it from the back, and jam it in the top of the opening--it will be very tight. This took some time to get right. When it is properly positioned, bend the tabs as instructed to secure it.
4. Snap in the face plate from the installation kit, plug the wiring harness into the head unit, and insert the head unit. Hopefully everything fit. If not use a screwdriver to unclip the faceplate at the bottom corners and try try again!
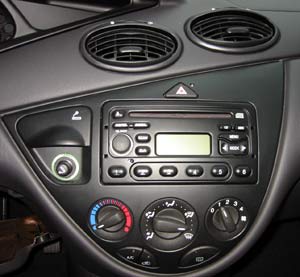
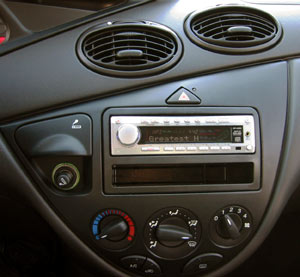
Before & after
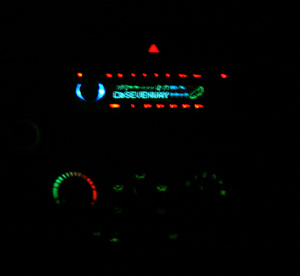
All lit up